So why would you make your own sauerkraut recipe when you can simply buy it in a store? Well, because like anything homemade it often tastes better (unless you screw up the recipe, which I have been known to do). And because this way you know you have a true fermented product, not a sterile, no good bacteria (probiotics) vinegary cabbage. The basic recipe is simple, but I’m sure you could modify it to play with the flavours.
A few years ago I was in Germany for some biopuncture training. We noticed that we didn’t have a lot of vegetable options when we’d eat out, but sauerkraut was almost always included. I’m sure it helped us to digest the meat (don’t eat sausages anymore, so might be harder to travel through Germany now), bread, and beer. Though I was glad to get back to fresh veggies at home, it was delicious and I love this sauerkraut recipe below!
Have you ever made sauerkraut and do you have any tips?
Sauerkraut Recipe
Ingredients
- 1 medium head green cabbage (about 3 pounds)
- 1 1/2 tablespoons kosher salt
- 1 tablespoons caraway seeds (optional, for flavour)
Equipment
- 2-quart wide-mouth canning jar or 2 one-quart mason jars
- Smaller jar(s) that fit inside the larger canning or mason jars
- Clean stones, marbles, or other weights for weighing down the smaller jar
- Cloth(s) for covering the jar(s), 1 or 2; I used cheesecloth
- Rubber bands for securing the cloth

Instructions
- Clean everything well. This is important to make sure you give the bacteria a better chance of doing their job. That means your jars and hands should be well cleaned.
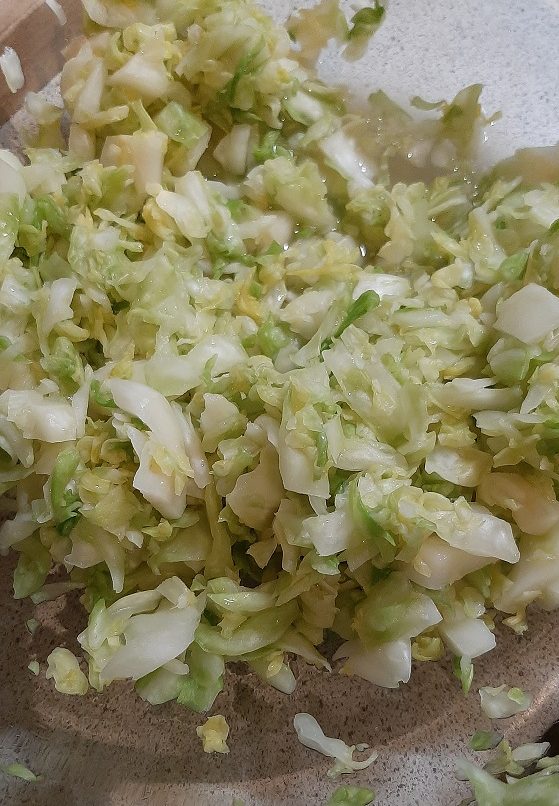
- Discard the wilted outer leaves of the cabbage. Pull off one clean, large leaf and set it aside. Cut the cabbage into quarters and trim out the core. Slice the cabbage into very thin strips.
- Place the sliced cabbage in a clean bowl and add salt. Massage and squeeze the salt into the cabbage. You’ll eventually (after about 5-10 minutes) find the cabbage becomes limp and watery.
- If you are using caraway seeds or other spices, mix those in now.
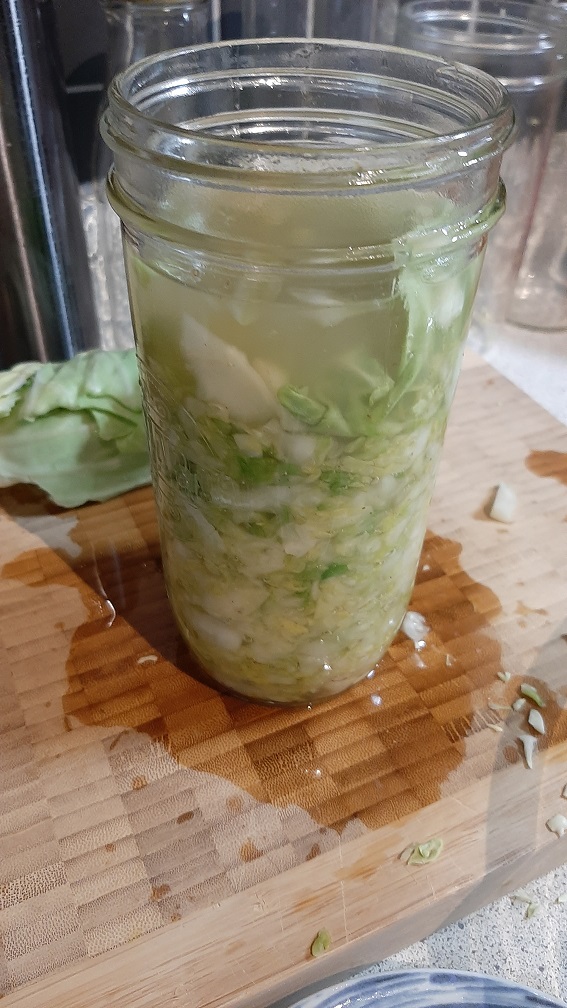
- Tightly pack the cabbage into your large jar(s). Add the liquid that you squeezed out into the bowl when you were massaging the cabbage.
- Use the large cabbage leaf you had set aside to cover the thinly sliced cabbage in your jar(s).
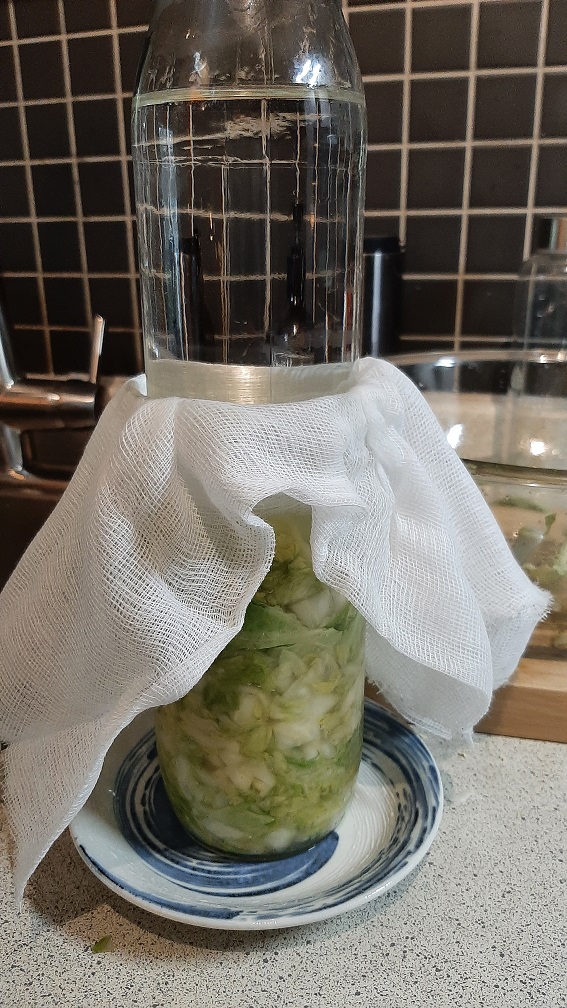
- Put the smaller jar(s) into the mouth of the large jar(s) and weigh the smaller jar(s) down by adding in your stones, marbles, or other clean weights.
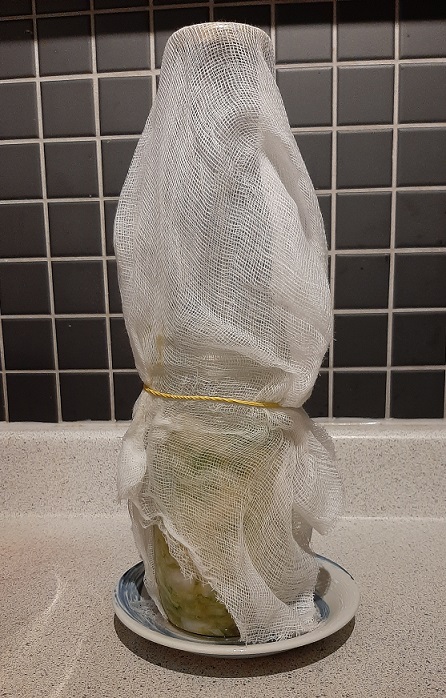
- Cover the mouth of the mason/canning jar(s) with your cloth(s) and secure the cloth with a rubber band. This is to keep bugs and dust out of the jar, but allow air flow.
- On day one, press down on the smaller jar every so often, pushing down on the cabbage and allowing the shredded cabbage to become more limp and release its liquid.
- If, after 24 hours, the liquid hasn’t yet covered the cabbage, dissolve 1 tsp of salt in 1 cup of water and add enough to submerge the cabbage.
- Place the jar(s) out of direct sunlight, at a relatively cool temperature (but do not refrigerate).
- Check the jar(s) daily to ensure the cabbage remains submerged. Press down on the smaller jar to compact the cabbage, if needed.
- Allow the cabbage to ferment for 3 to 10 days. You may notice bubbles or white foam or froth on the top. Don’t worry, as this is a sign of fermentation. If you notice mold, skim it off and make sure your cabbage is fully submerged under the liquid.
- You can taste it daily starting on day 3 to see if it’s ready.
- When it tastes right (pickled and a bit sour), remove the weighted jar. Skim off the foam or froth, if you want. Lid the jar and refrigerate it. It should keep for at least a couple of months, probably longer when refrigerated. You’ll know it’s gone off by taste or smell.
Here are some pictures of my process:
